How to Create Flows in MessageGate?
MessageGate is a powerful platform that enables businesses to manage customer communication from a single panel. One of the most important features of this panel is flow creation. A well-designed flow provides quick answers to users' questions and facilitates sales and support processes. So, how do you create a flow from scratch in MessageGate? Here's a step-by-step guide 👇
Access the Flows Page
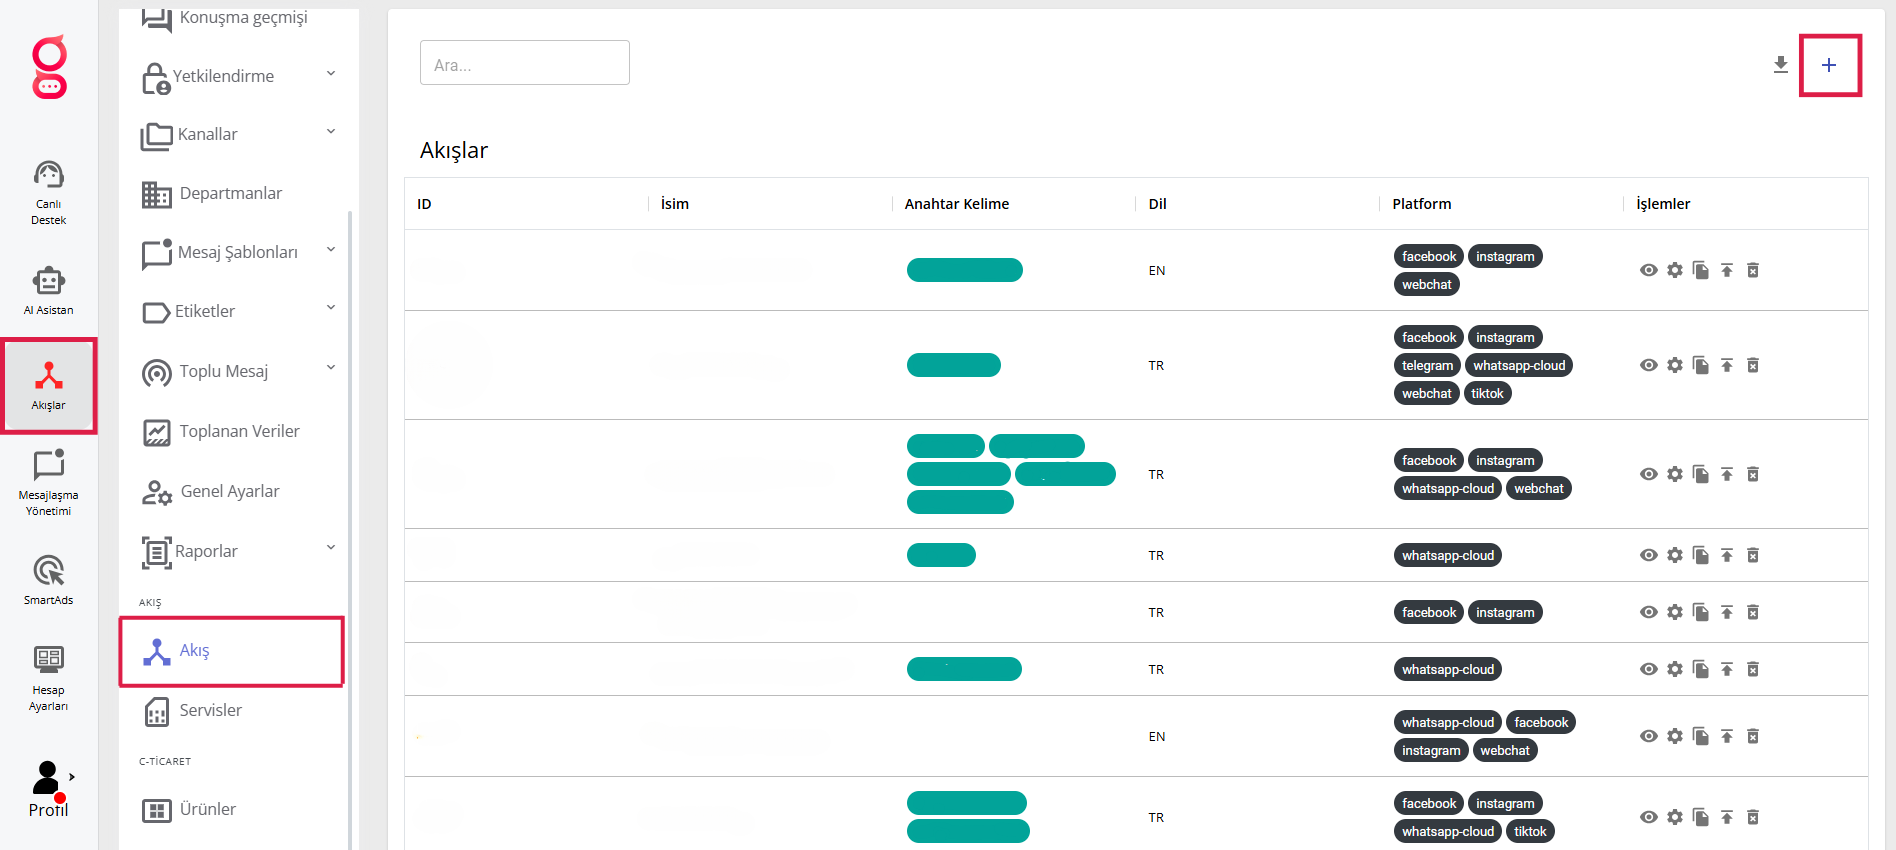
After logging into your MessageGate account, you will see a menu on the left side. Click on the "Flows" tab in this menu.
Here you can:
- View a list of all flows you have previously created.
- Basic information such as name, description, language, platform, and keyword for each flow is listed.
- You can edit, copy, or delete flows from the "Operations" section.
- You can use the "+" button in the upper right corner to start a new flow.
This screen is like the control center for all flows. You can manage both your customer support bots and sales-oriented scenarios from here.
Creating a New Flow
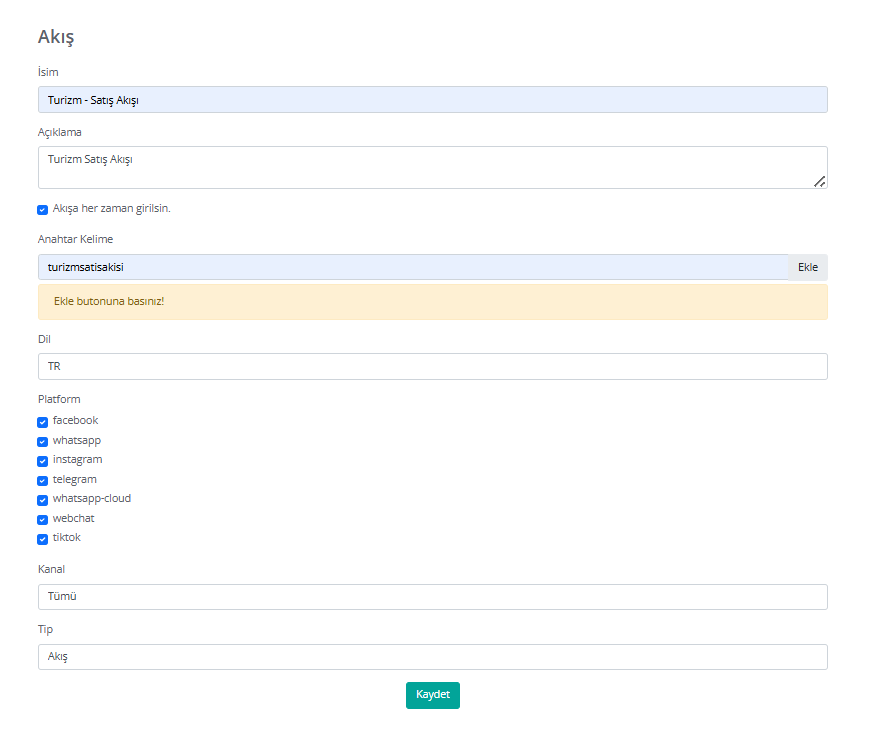
To create a new flow, click the "+" button in the upper right. A form will appear. You need to fill in some information in this form:
- Flow Name: Choose a clear name that indicates what the flow will be used for.
- Description: Add brief information about the purpose of the flow.
- Keyword: The flow is triggered when the user types this word.
- Language: Select the language in which the flow will work (e.g., Turkish, English).
- Platforms: Determine which channels it will be active on, such as WhatsApp, Instagram, Facebook, Telegram, TikTok.
- Channel and Type: You can choose whether this flow is general or campaign-specific.
After filling in this information, click the Save button to complete the first step.
Working with the Flow Editor
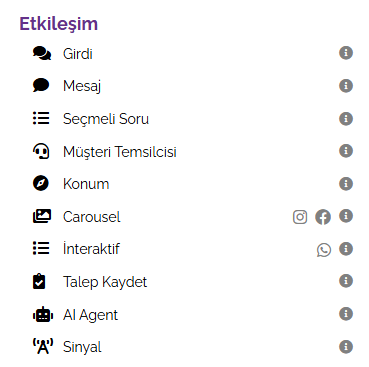
When you save, the editor screen that works with drag-and-drop logic appears. Here, you design your flow using the blocks on the right side. Each block serves a different function:
- Interaction Blocks → Communicates directly with the user (message, button, form).
- Process Blocks → Performs tasks such as API calls or tagging in the background.
- Logical Blocks → Directs the flow with conditions and variables.
Every addition you make in the editor appears as a visual box (node) that you can drag and connect. This way, you can follow the logic of your flow step by step.


Conclusion
Flows in MessageGate facilitate customer communication and speed up the process. By using Interaction, Process, and Logical blocks correctly, you can design both simple and advanced scenarios. Don't forget to test your flow and improve it regularly with reports.